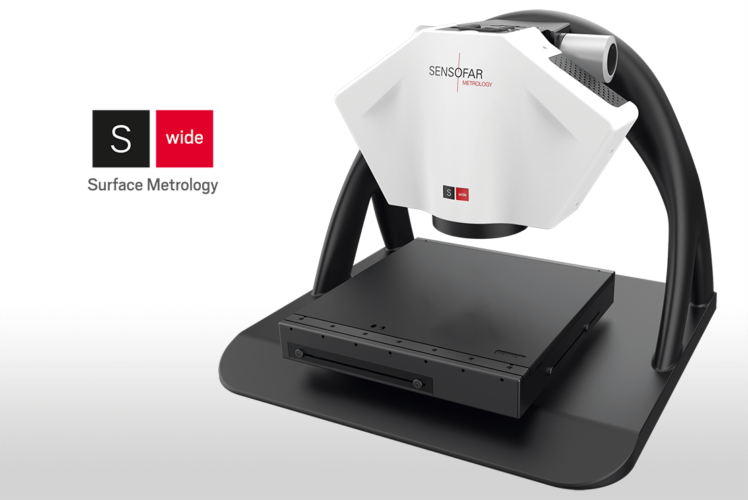
SRC is pleased to introduce Sensofar Metrology’s new metrology tool for wide areas—the S wide. The S wide is a dedicated system designed to rapidly measure large sample areas up to 300 x 300 mm. It provides all the benefits of a digital microscope integrated into a high-resolution measuring instrument. On top of that, with single button acquisition, it is extremely easy to use.
Large-area 3D optical system
The S wide is a large-area 3D optical system providing solutions in the following fields:
- Advanced manufacturing
- Archaeology and paleontology
- Consumer electronics
- Medical devices
- Molding
- Optics
- Watches
S wide features
- Sub-micron height repeatability over entire extended area
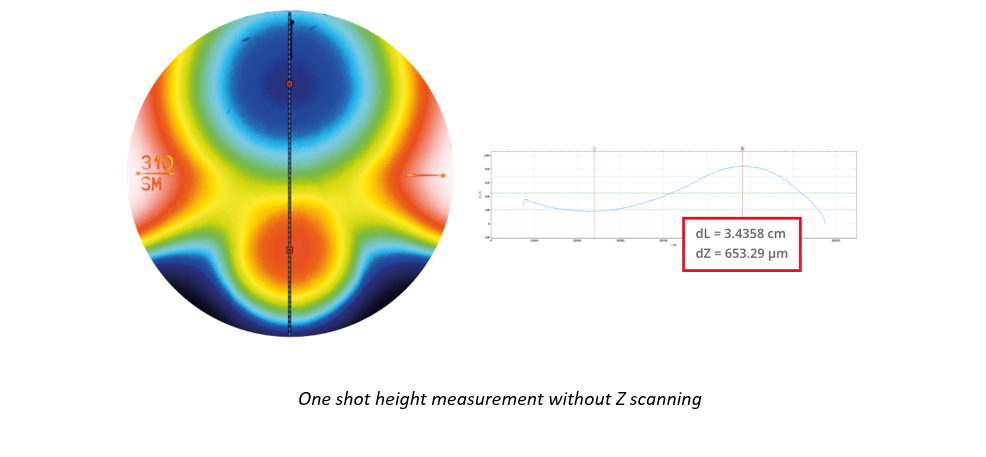
- One shot height measurement up to 40 mm without Z scanning
- Bi-telecentric lenses with very low field distortion providing accurate metrology
- Form deviation from 3D CAD models, providing the geometric difference and tolerance measurement
ISO standards
Traceability
Every S wide is manufactured to deliver accurate and traceable measurements. Systems are calibrated using traceable standards according to ISO 25178 and VDI 2634-2.
Request a quote
Click here to request a quote on a Sensofar Group product.
About Sensofar Metrology
Sensofar Metrology is a member of the Sensofar Group, headquartered near Barcelona, a technology and innovation hub. Sensofar Metrology’s mission is to develop, manufacture and market high-end 3D surface metrology instruments. They also provide consultancy within the field of metrology, and pursue a philosophy of guaranteeing advanced techniques, high quality and customer service.


